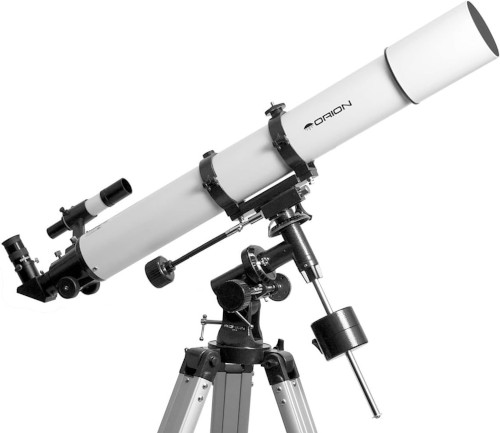
The Orion Astroview 90mm telescope was my starter kit and first step into night sky viewing. I bought a simple tracking control and a StarShoot CCD camera to take these early (see below) photos of Jupiter and Saturn. I am severely limited by pollution from street and house lights where I live and my view to Polaris is blocked making setting up the mount more complicated than it should be. But my first attempts were pleasing enough. I wish I could see more with this scope.
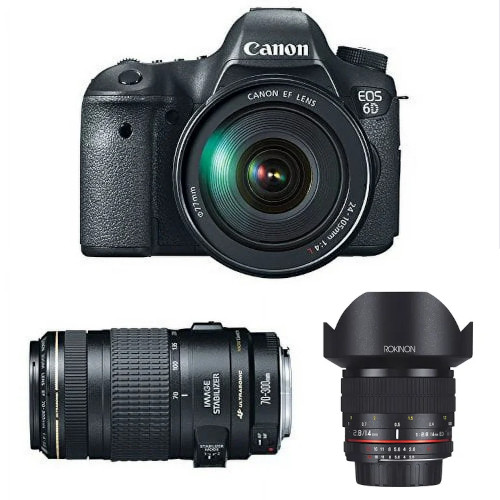
My main camera is an EOS 6D. A beautiful if old, and robust workhorse. Coupled with either the 24-105 or 70-300 zoom I have some success with the Andromeda galaxy, Orion Nebula, and a couple of comets. Most of these were impossible for me to see with the naked eye. The 14mm Samyang / Rokinon lens is both cheap and fantastic later addition for wide sky shots.
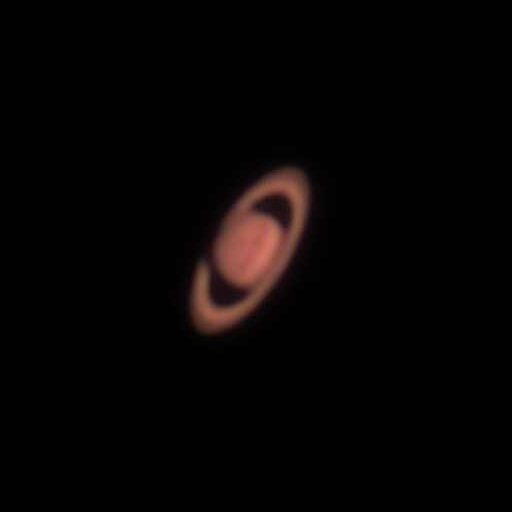
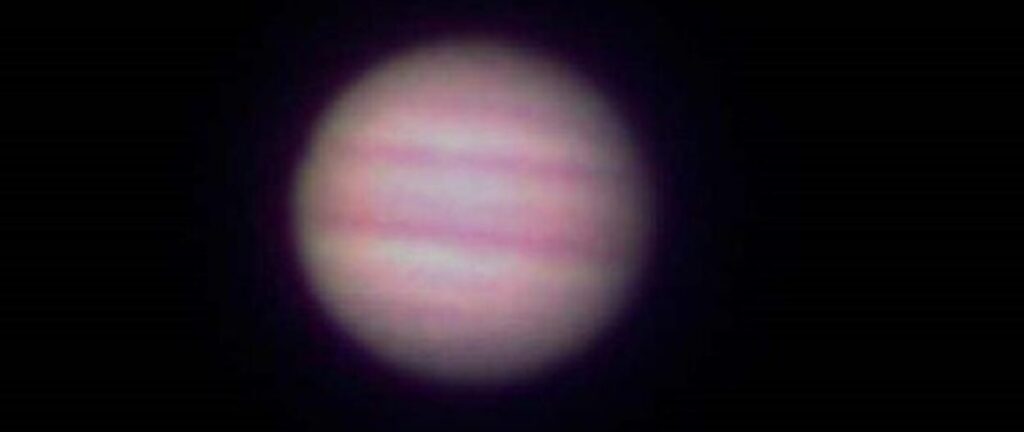


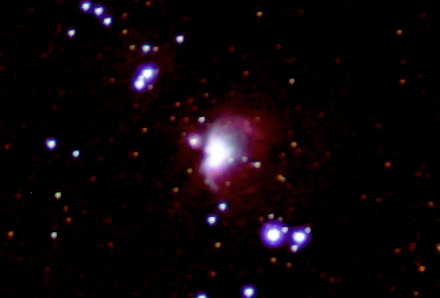
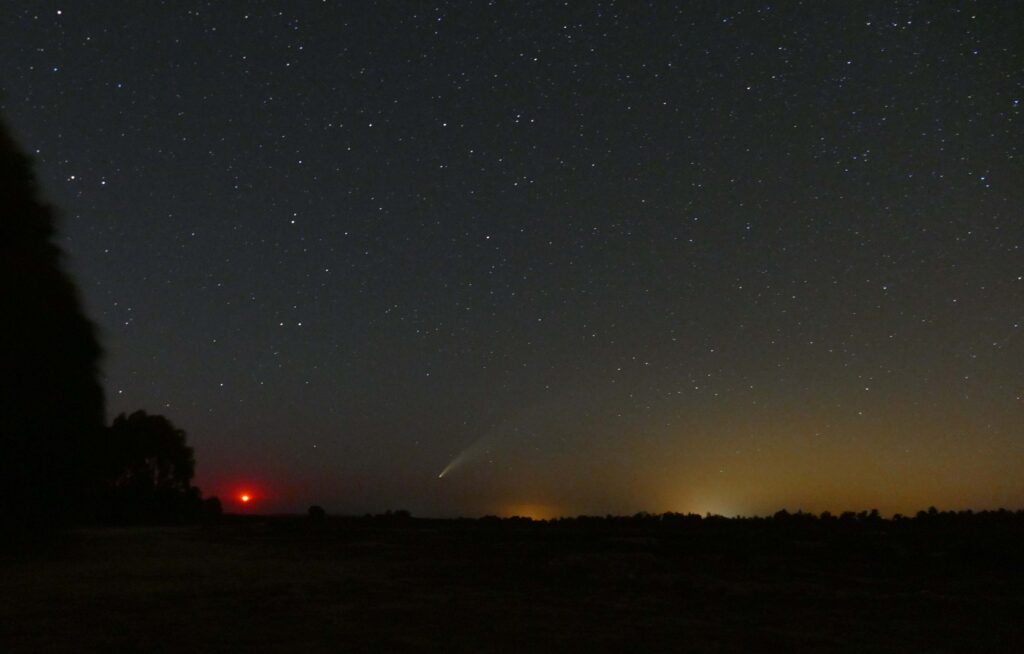
The planets Jupiter and Saturn were photographed using the Orion telescope with small ccd camera attached. Neowise was a straight camera shots using the Canon 6D on a tripod. The comet was very close to the horizon and invisible to the naked eye. A couple of long exposure shots in the right direction brought it into view.
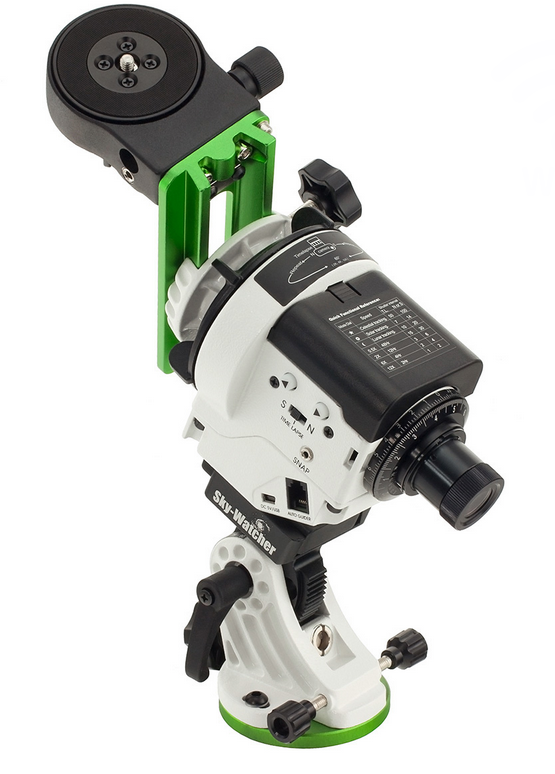
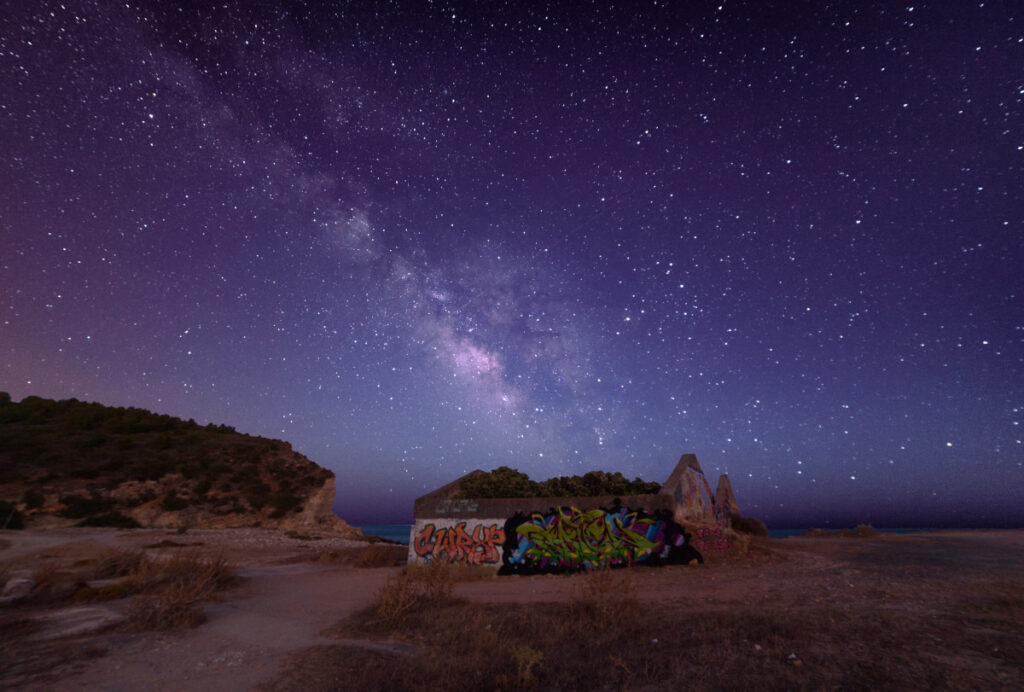
The galaxies and nebula needed longer exposure times, up to 120 seconds. For this I recently invested in a sky tracker mount.
This a very versatile mount and comes with a useful app. Within 30 minutes, and in sight of Polaris, I was set up for the first time and able to take exposures of two minutes without any unwanted star trails.
There is still a lot of functionality in this tracking mount that I haven’t explored yet.
DIY Projects
I like messing around at home and if there is a problem I can sort myself I am always eager to have a go.
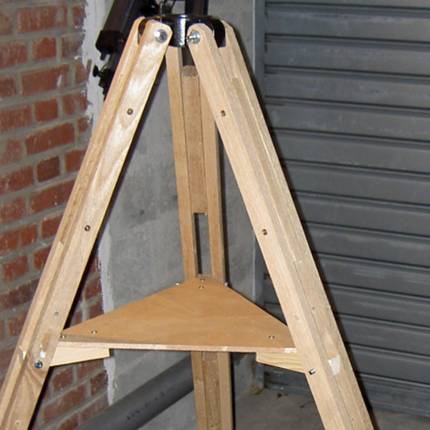
The first and most important job was to replace the aluminium tripod that came with the telescope. With the standard tripod I found it difficult to hold any image steady with a 900mm telescope attached. It is far more suitable as a camera mount. The Cloudy Nights website has an excellent design for a wooden tripod. This was my first project and has proved to be an excellent choice. Rock steady but cumbersome. It is also difficult to move to remote locations.
I had a spare 40D body so I decided to do an infrared conversion. The Canon sensor has a much wider response band with than the human eye and can be exposed by IR radiation. To avoid this “over-sensitivity” cameras have an IR filter in front of the CMOS sensor. The job here was to remove this filter (that was fun) and replace it with a non-filtering medium. Watch this space for photos…..

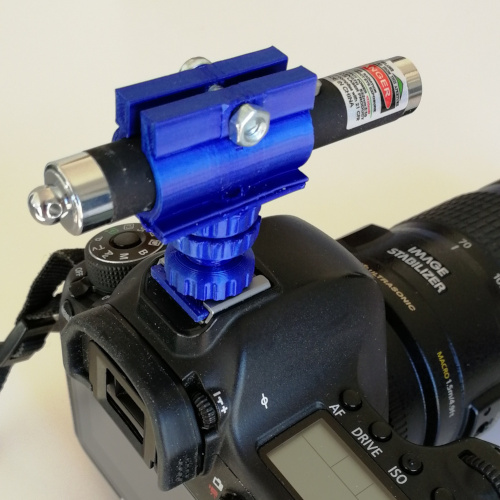
Anyone who has tried astro-photography knows how difficult it can be to aim a camera at a nearly invisible object in the dark sky, even knowing where it should be.
Andromeda is high in the sky in winter and even bending down to look through the viewfinder of my camera is almost impossible.
A laser pointer was the solution and is very easy to use. I made this bracket to attach to my camera hotshoe.
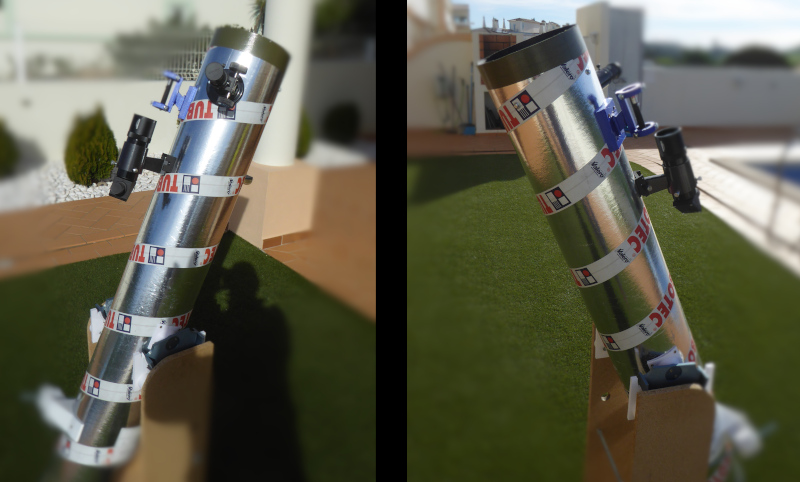
My last project was to make my own Dobsonian with a 160mm reflector and 1300mm focal length. A wooden stand, some cardboard tubing from the local builders merchants and a 3D printed mounting system. It’s certainly too big to travel but much easier to star gaze at high altitudes. I have also made a mount for the same laser pointer.
I am still looking for really dark locations nearby. I have visited the observatory in Alqueva and am planning a visit soon to a similar one in Mexilhoeira nearby.